
ラインが巻かれていない新品のリールを買った場合や
狙う魚種の変更等によって ラインの太さを変えたい時
あるいは 使っているラインが劣化してきたので新しい物に張り替えたい
などなど
「リールにラインを巻く」という仕事をする機会はソコソコやってきます
そこで今回は、久しぶりに新しいリールを購入したということで
ゴッドくんが普段やっている方法を紹介します
どうぞご参考にしてみて下さい!
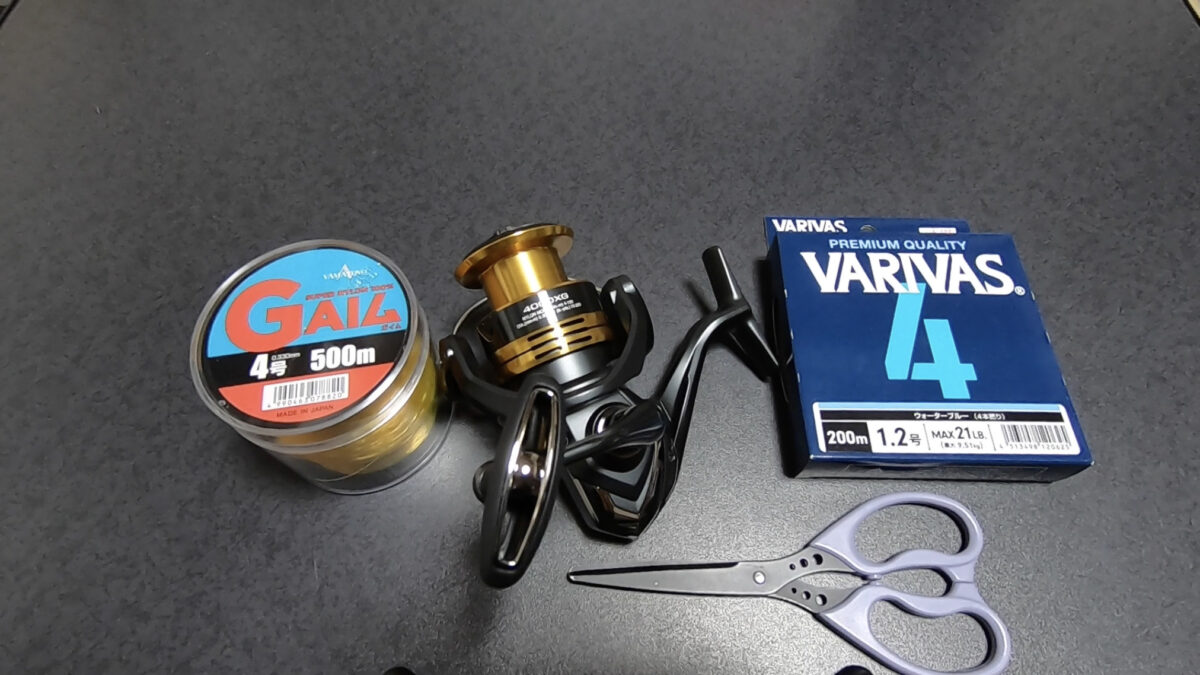
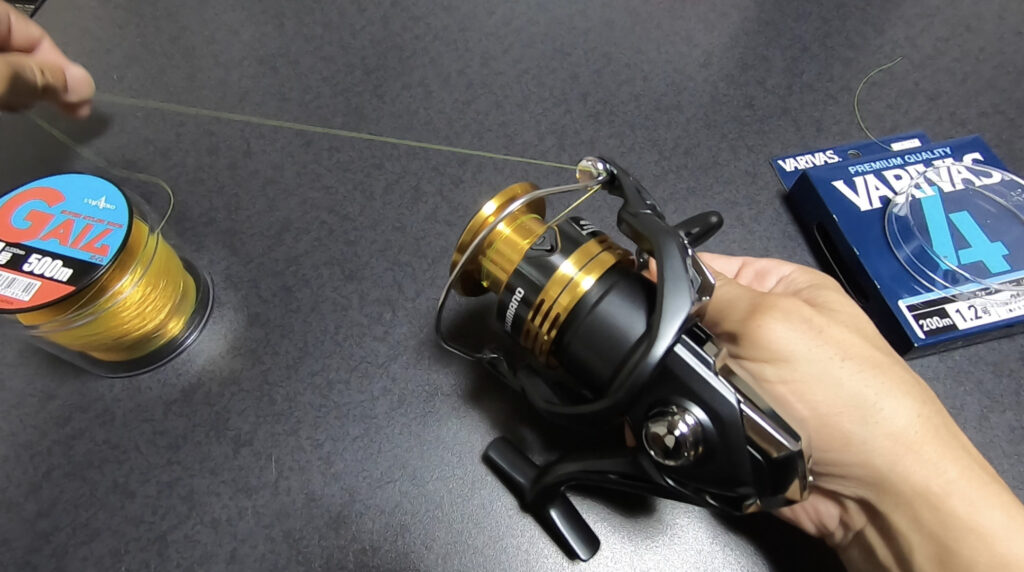
ちなみに僕が今回購入したリールはこちら
コスパ最強スピニングリールのハイギヤ仕様モデルです

珍しく新品を買ったのか!
まさに奇跡と言わざるを得ないね!
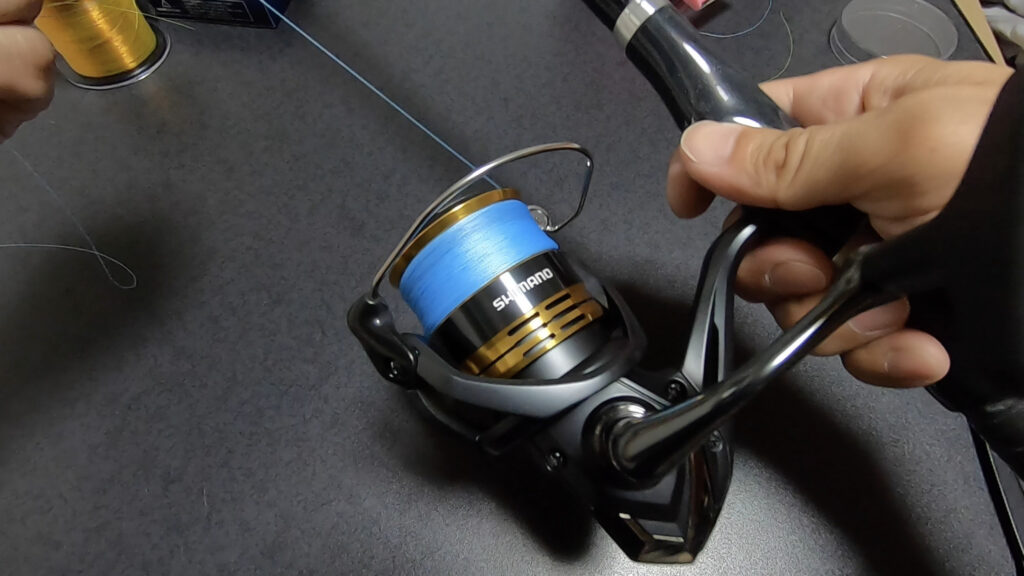
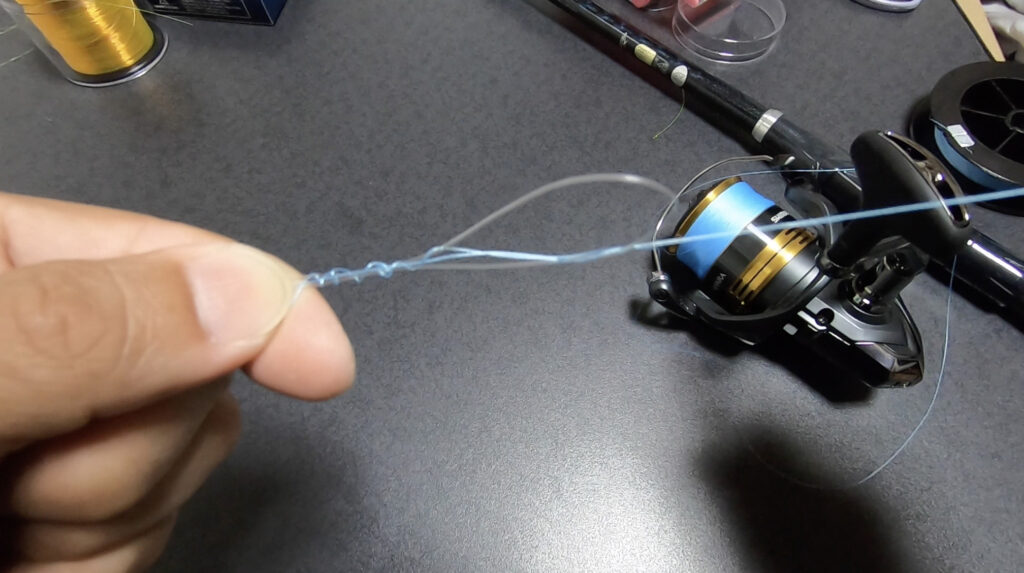
スプールに下糸を結びつける

まずはリールのスプールに下糸として
ナイロンラインの4号を巻いていきます
安い物で十分です
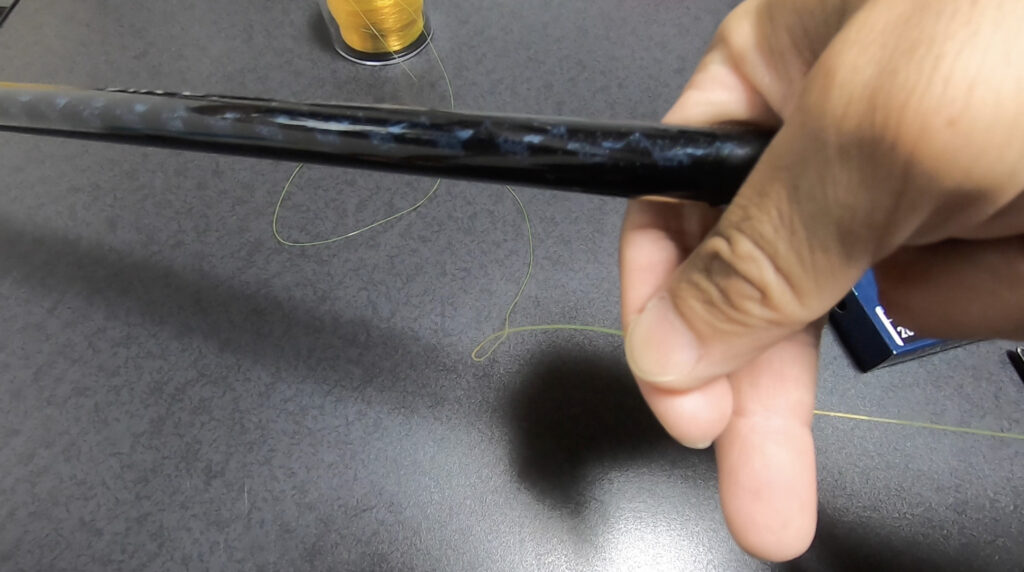
大きめに輪っかを作った状態で
ユニノットで仮結びしておきます
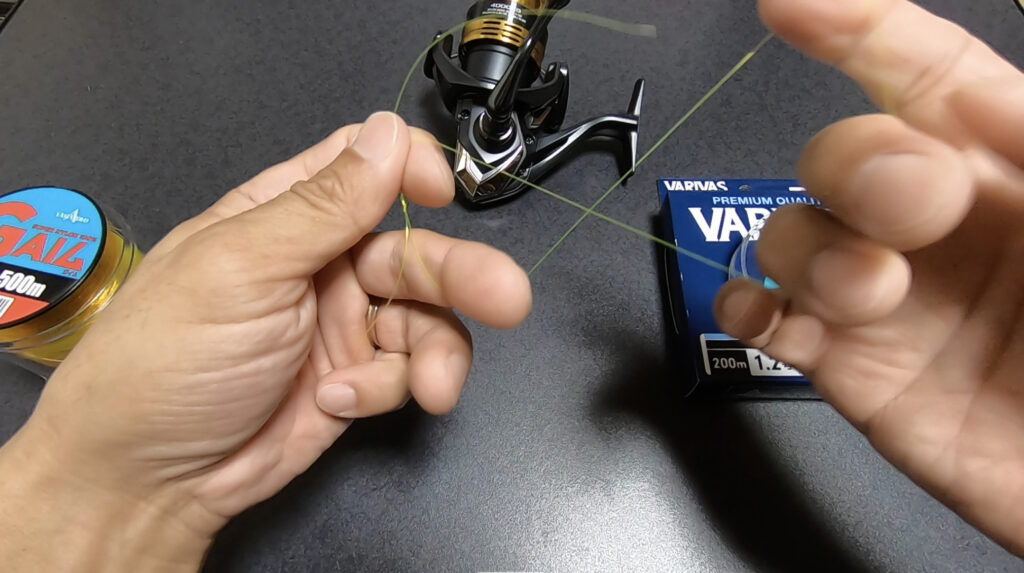
それから大きい輪っかを8の字にして折り返し
2重の輪っかにします
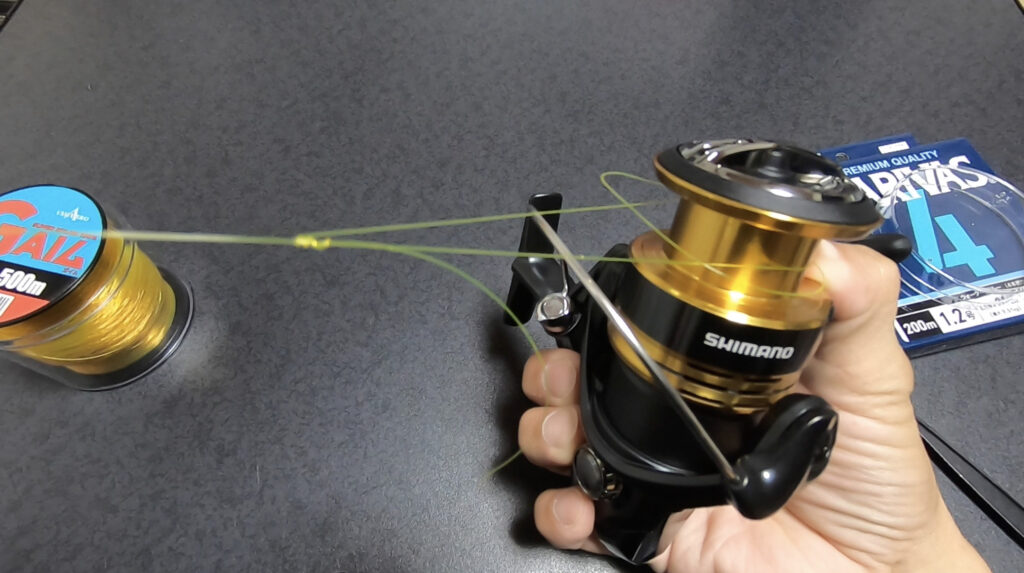
ベールを上げ、本線が巻き取り方向 (右回り)
に向くようにしてスプールに巻き付け
ゆっくり引いてキッチリ締め込みます
しっかり締めたら余ったラインをカットします
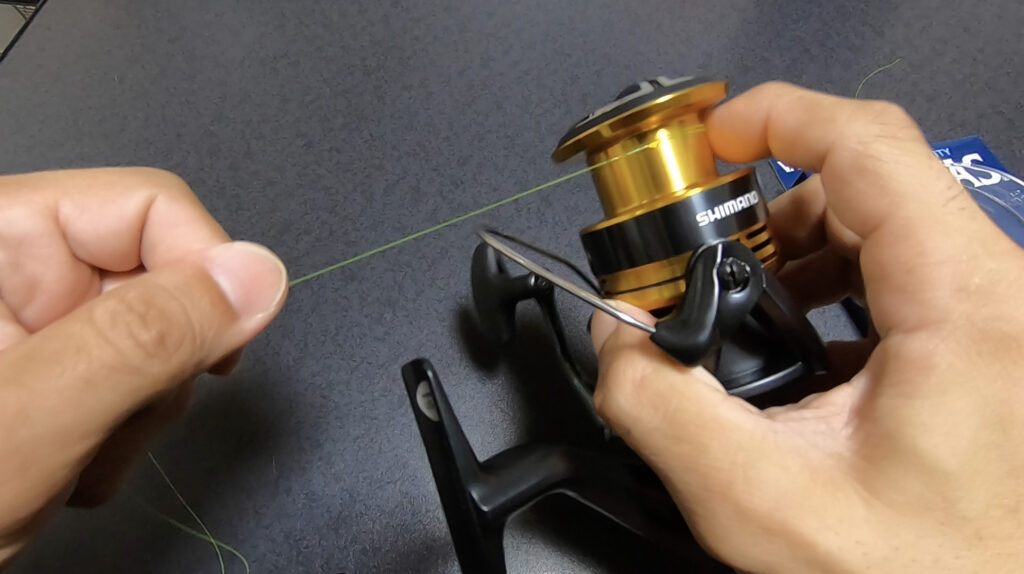
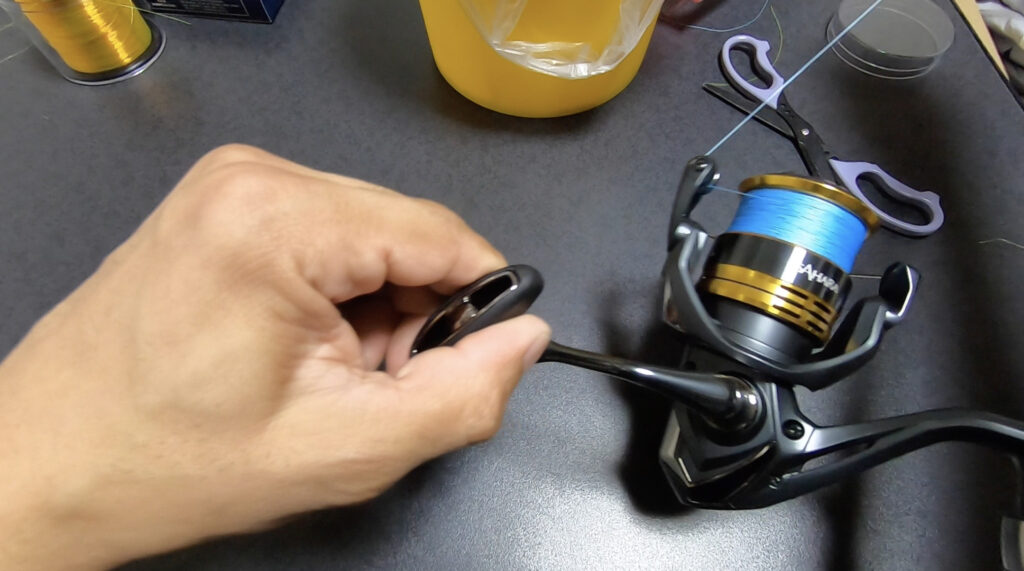
軽くテンションをかけながらリールに巻いていく
ベールを戻してリールをロッドに取り付けます
指でラインをつまんで軽くテンションをかけながら
ラインを巻いていきます
下糸をどれくらい巻くかは、僕の場合テキトーです
キチンとキメたい方はこちらのサイトをご参考に
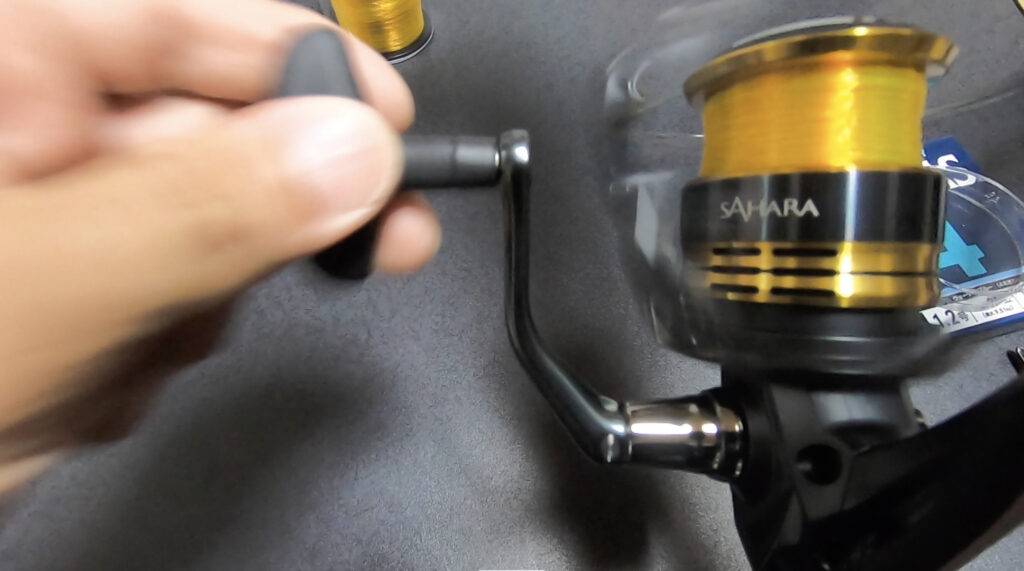
ドンドン巻いていきます
下糸とPEラインを結ぶ
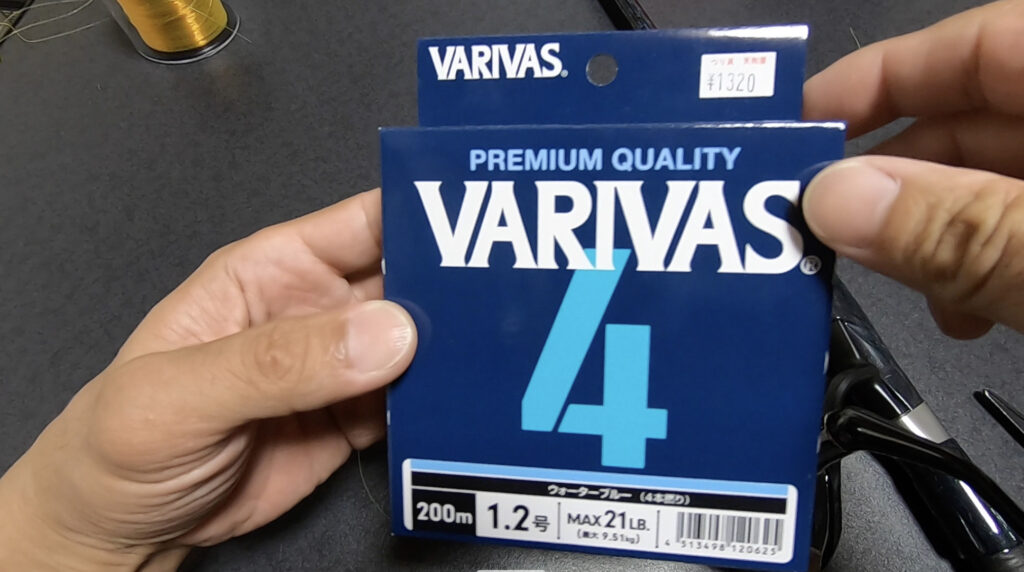
下糸を巻き終わったら次は下糸にPEラインを繋ぎます
今回は1.2号を使用

「ノーネームノット」で結びます
「ノーネームノット」とは?
ナイロンラインとPEラインを結ぶ方法
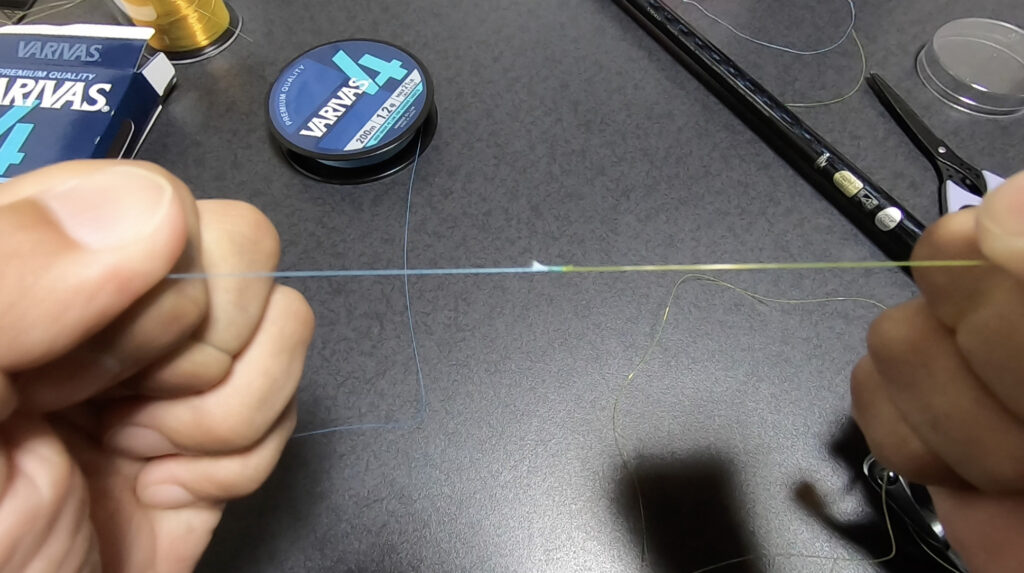
締める時はラインを少し濡らしてゆっくり締めます
しっかりと締めたら余ったラインをカットします
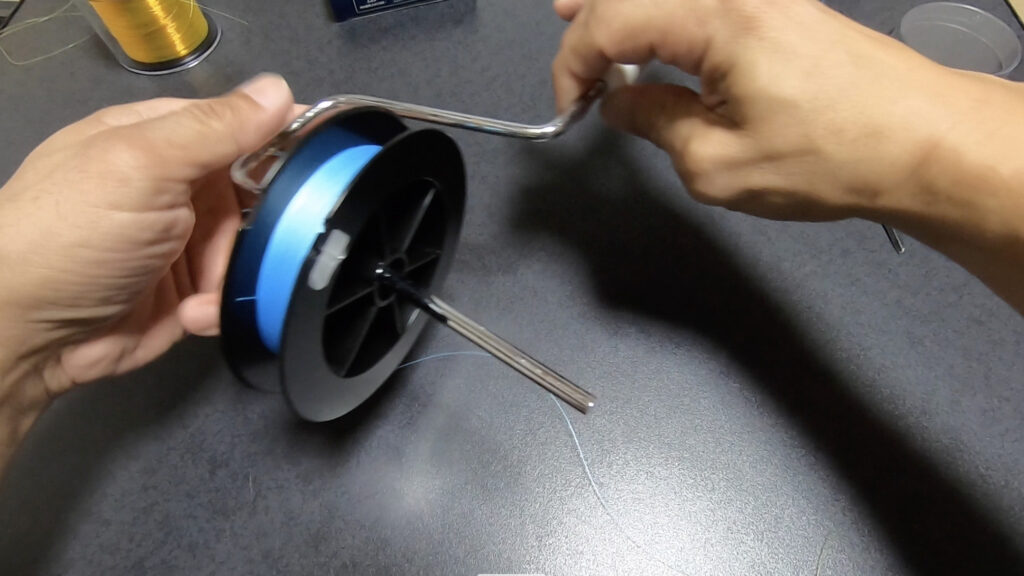
PEラインが巻かれている本体を
粘着テープでお掃除する「コロコロ」の柄に挿してどっかに固定します
そして下糸同様に指で軽くテンションをかけながら
巻いていきます
ここで注意したいのは、PEラインは熱に弱いので
強く擦れないように極軽くつまんでゆっくりと巻いていきます
本当はこういったアイテムがあった方が良いです

これ僕も欲しい!
ドンドン巻いていきます
良い感じです!
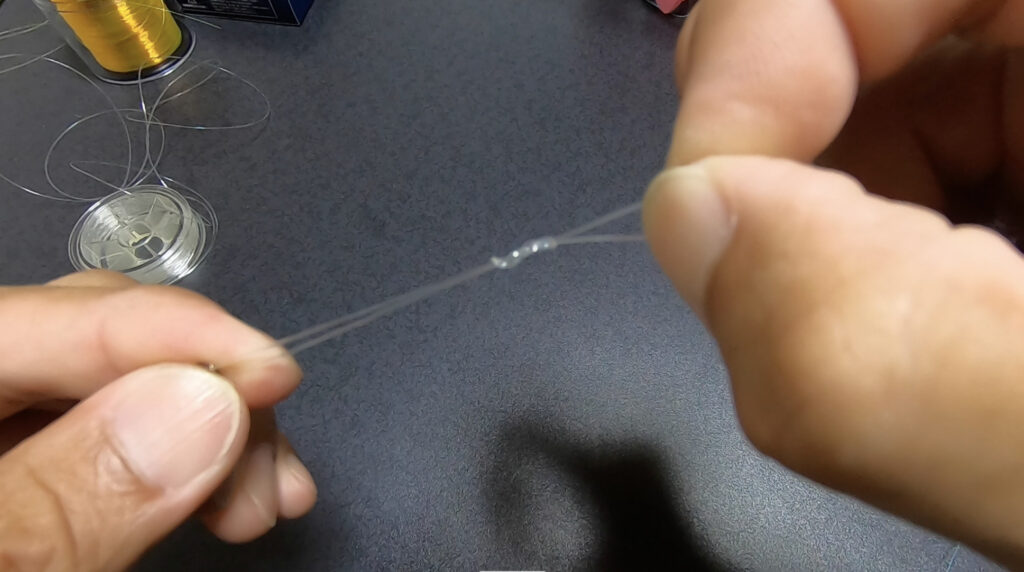
ショックリーダーを結ぶ
PEラインの強度 (ポンド数) と同等か それ以下のポンド数のショックリーダーを
とりあえず1mくらい繋ぎます
(釣りのジャンルによって長さは変わります)
ここも「ノーネームノット」で結びます
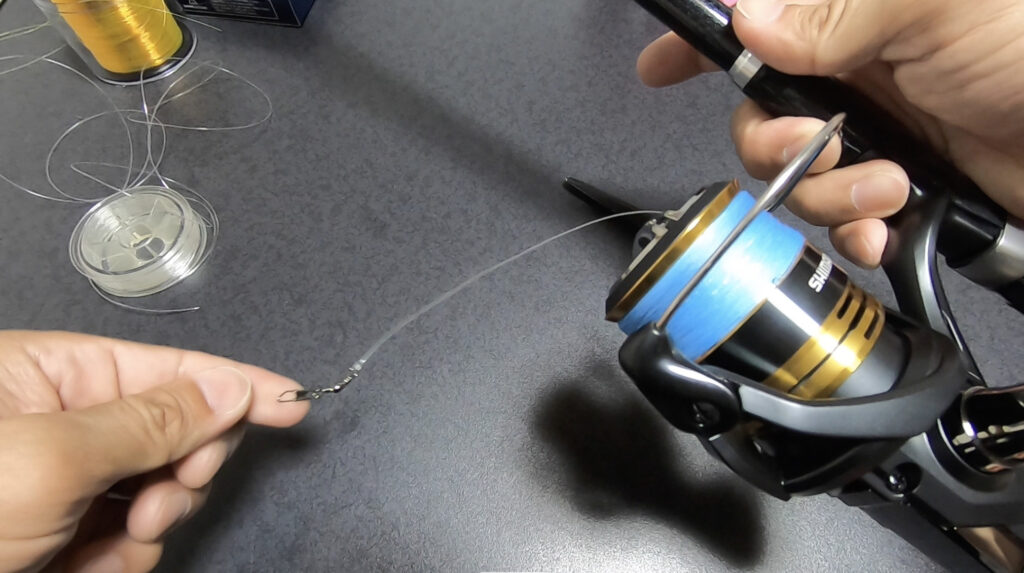
スナップサルカンを結ぶ
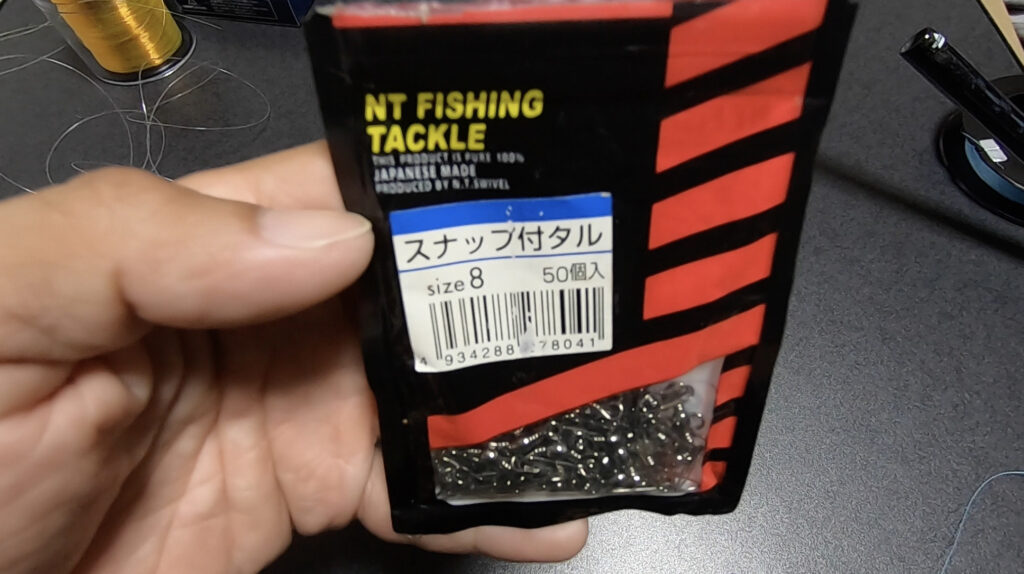
最後に狙うお魚のデカさに合わせた強度で尚且つ
トップガイドを通る大きさのスナップサルカンを
パロマーノットで結び付けます
ユニノットでも良し (画像ではユニノットで結んでます)
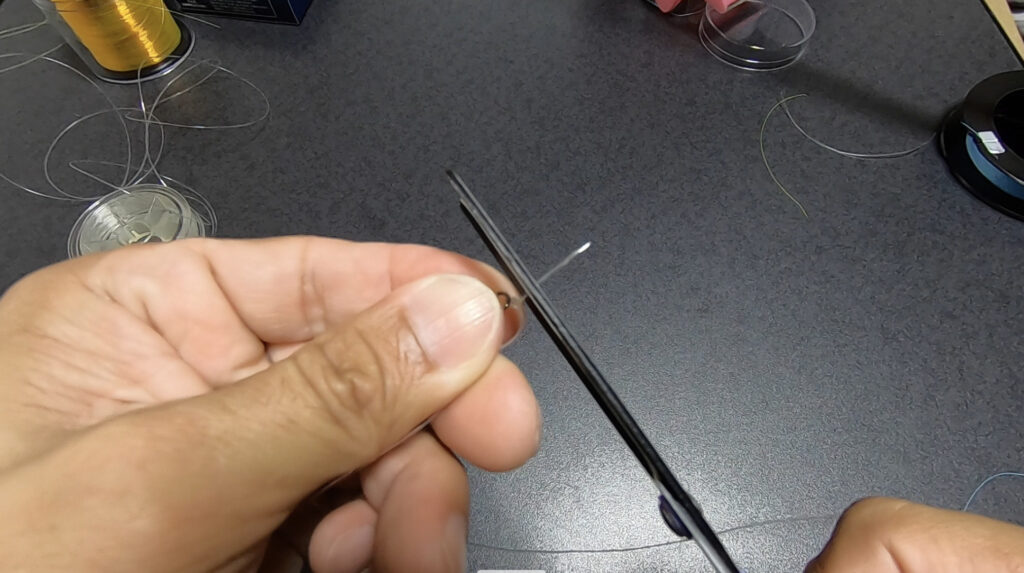
締め付けたら余ったラインをカット
完成!!
釣りまくるぞー!🐟
今回の作業を動画で観てみましょう


コメント